The 3-Camera Selfie Shoot
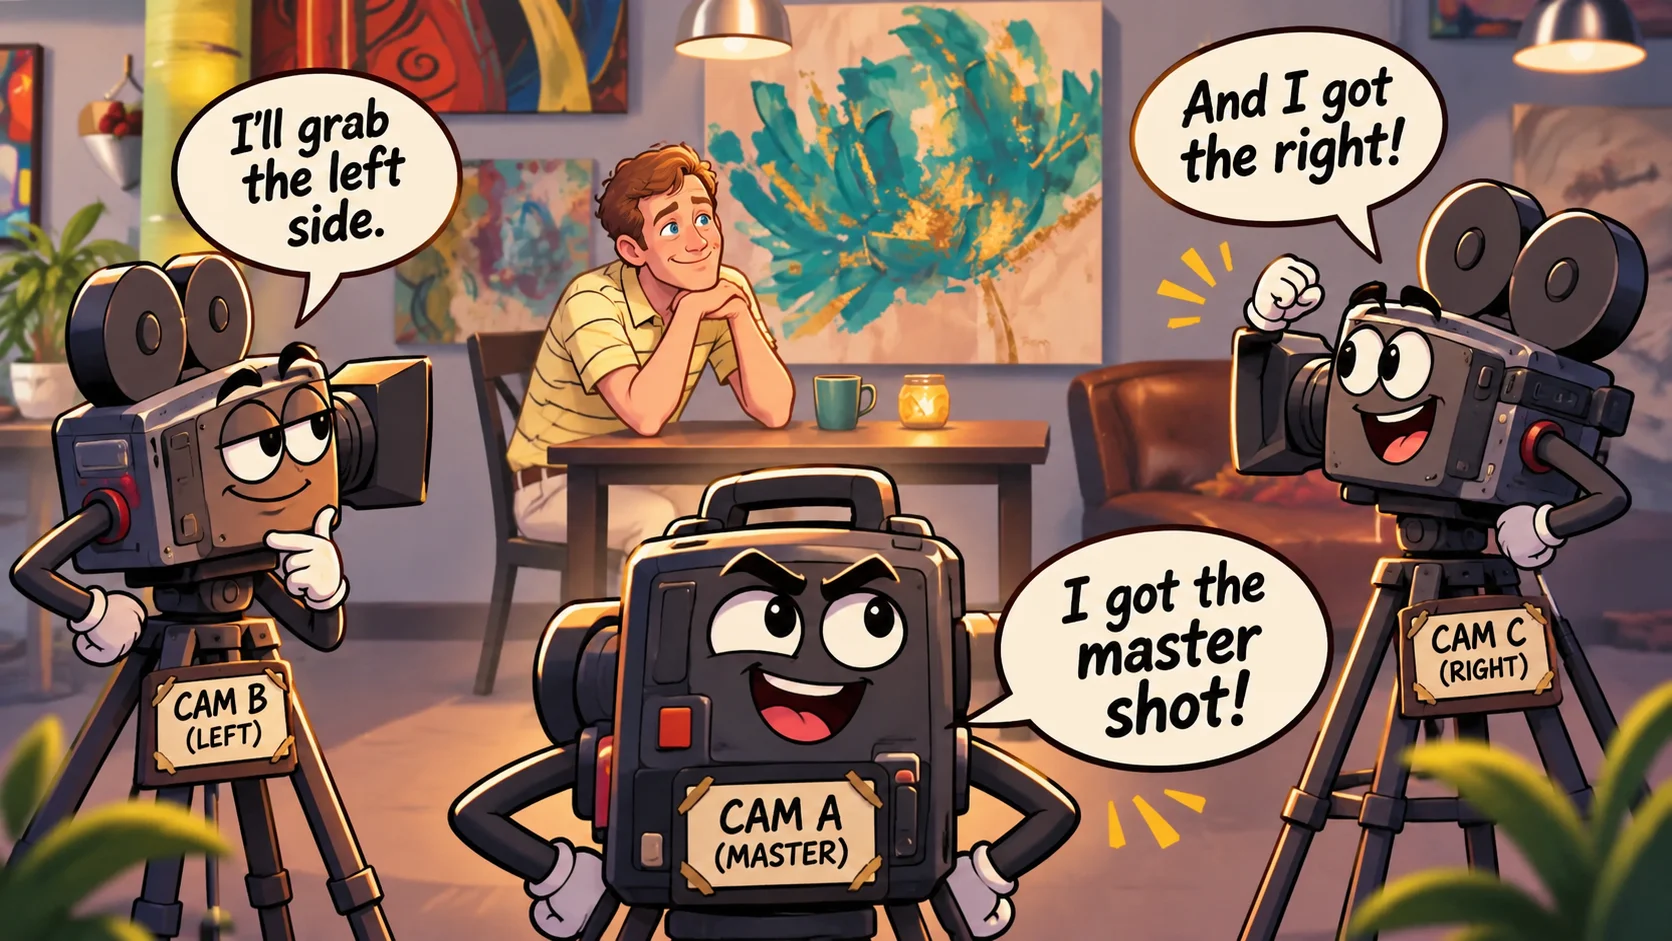
In October’s article, I mentioned that I’d share some of the techniques I used while shooting my own movie.
Well, here we go.
First off, shooting the movie this way wasn’t the original plan. I didn’t wake up one morning thinking, “Hey, let me shoot an entire movie by myself with three cameras.”
That wasn’t the idea at all.
But sometimes you’ve gotta make a choice. You can sit around waiting for that big-budget opportunity to come knocking, or figure out how to make something happen with what you’ve already got.
At the time, that big budget hadn’t shown up. So I went with what some people call the low-budget approach.
And when you don’t have the money to hire a crew, guess what? You’re the crew!
I’m talking about setting up cameras, directing scenes, acting in front of those same cameras, and handling a whole lot of other responsibilities that would normally be spread across several people.
That’s how I ended up using this three-camera setup.
Three Cameras, One Scene
Here’s one scene from the movie, seen three different ways. One wide shot—the master—and two angles looking across the conversation. Same performance, three perspectives.

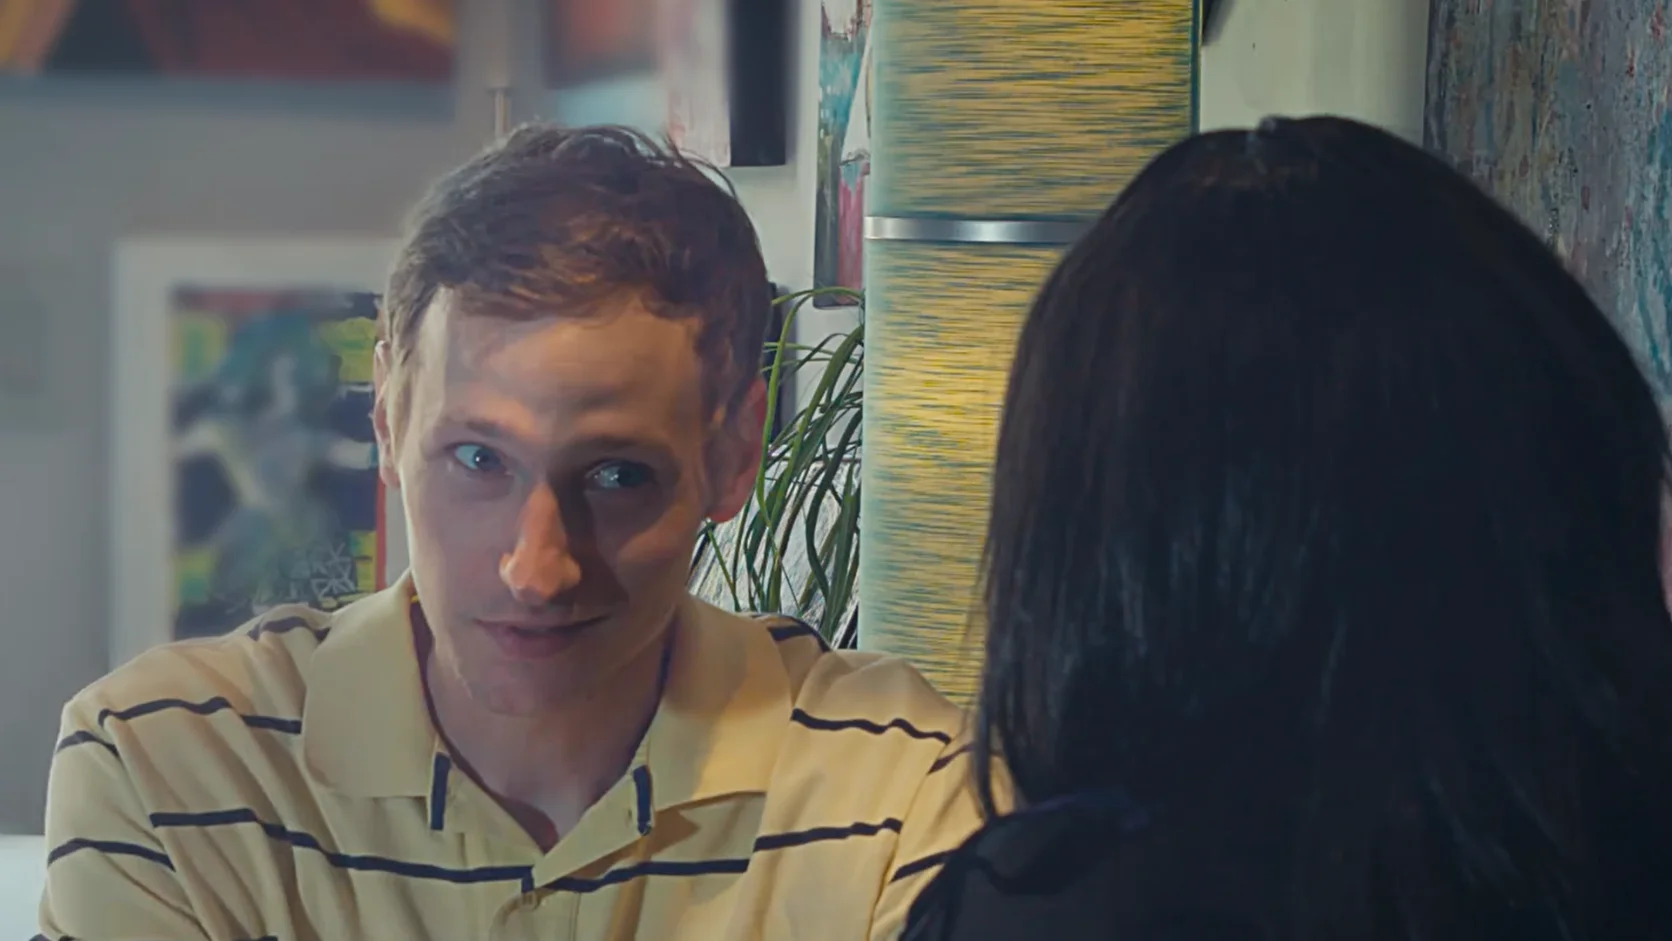

All three cameras recorded the same performance. Instead of replaying the scene to get each angle, I had options ready when it was time to edit. And when you’re also acting and directing, that can save you a whole lot of trouble.
I used the cameras’ remote-recording features so I could start recording without an operator standing behind each camera. Once the angles were set, I could get in front of them and work on the scene.
How I positioned the cameras
A simplified overhead view of my three-camera setup.
But don’t get it twisted. Three cameras rolling doesn’t mean three cameras solving all your problems.
The Pros and Cons
The good part? If you’re comfortable with stationary, stabilized shots, this setup can work in your favor. Lock down your angles, check the framing, and let the cameras do their thing.
In the edit, you can cut between the master and the two closer angles without recreating every take.
The downside? If you prefer a lot of camera movement, this approach has limitations. Sure, you can reframe or add a little digital movement in post. But it’s not the same as a camera operator physically moving through the scene.
That’s one of the trade-offs you have to understand going in.
Don’t Let the Batteries Ruin Your Day
Here’s something that might sound small until it happens to you: battery management.
When you’ve got three cameras running, you better know how long those batteries will last. And I’m not talking about guessing.
Know what each battery can handle. Have spares if you can. If you’ve got access to electrical outlets and your equipment supports external power, use them!
But when you’re out on location, you’ve got to think about scene length, retakes and how much power you’ve got left.
And yes, I’ve made that embarrassing mistake of not being prepared. That’s exactly why I’m bringing it up. Some lessons stick because you learned them the hard way.
Make Life Easier in the Editing Room
One more little thing: slate your takes in front of all three cameras.
Whether you use a clapperboard or a simple hand clap, give yourself a visible and audible reference point. You’ll appreciate that when you’re trying to line up footage in post.
After a long day of shooting, the last thing you want is to figure out which take belongs with which camera. A few seconds on set can save you a lot of headaches later.
Don’t Forget About Your Footage
With three cameras rolling, you’re dealing with three sets of footage. And believe me, those files can pile up pretty fast.
Keep your footage organized by scene and camera, and make sure you’ve got enough storage before you start shooting.
And here’s something I wouldn’t play around with: backing up your footage.
The last thing you want is to finish a long day of shooting and lose everything because you didn’t have a backup. You already did the hard work. Don’t lose it over something you could’ve prevented.
Sometimes You Just Have to Figure It Out
Look, having a big budget and a full crew would make a lot of things easier. No argument there. But that doesn’t mean you can’t make a movie without them. You just have to approach things differently.
Sometimes that means changing the way you shoot. Sometimes it means taking on responsibilities you never planned on handling. And sometimes it means learning from mistakes you wish you’d never made.
I’ve been there.
The three-camera setup wasn’t some master plan to reinvent filmmaking. It was a way to get the movie made with the resources I had available.
Whether you’ve got a large budget or a small one, filmmaking is going to throw challenges your way. Are you going to let them stop you, or find another way to get the job done?
Because at the end of the day, the goal is to finish the movie.